

Reversible Infinity Scarf DIY
Time: ~15 minutes
Materials:
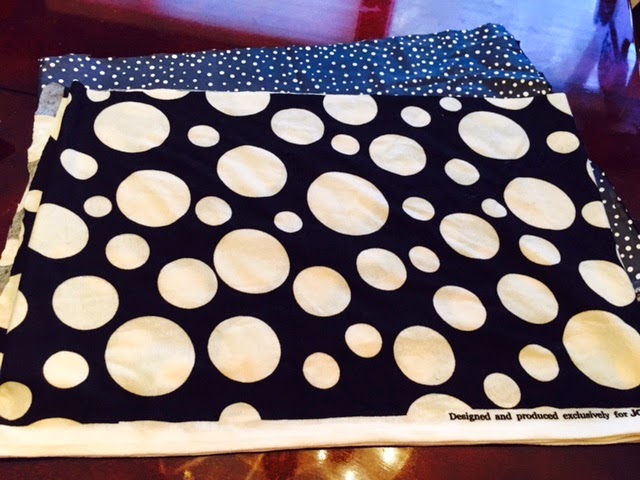
- 2 yds of 2 coordinating fabrics (would recommend soft, drapey fabrics like knits / silkies / chiffons)
.jpg)
1. Cut each fabric into identically sized rectangles - you can customize the measurements to your preferences. I'm using 14 x 80" for each rectangle.
.jpg)
2. Put the right sides together and sew down each long side. Flip right side out.
.jpg)
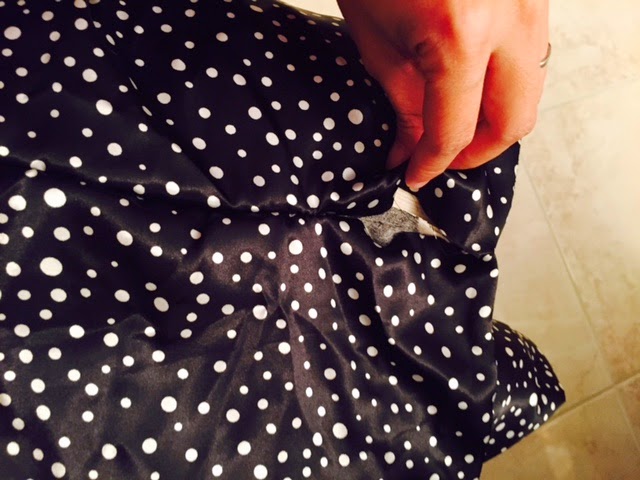
3. Put right sides of the short ends together and sew. Leave about a 2" gap and blind-stitch shut (great tutorial here).
.jpg)
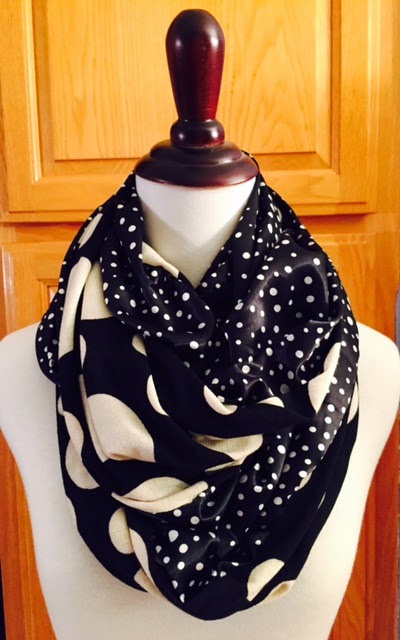
Finished scarf!
So cute!!! Love the infinity scarf idea as well!
ReplyDeleteAwesome! Great choice mixing the large and small dots.
ReplyDeleteThis is such a great idea and it looks quite simple to make :)
ReplyDeletekatattack2000.wordpress.com
Such a good idea and simple explanation! I love it!
ReplyDeleteThanks so much, Elizabeth!
DeleteSuch a good idea! I might give it a try using my African print :-)
ReplyDeleteblog.mamangateau.com
That sounds beautiful!
Deletethis is nice. I like the ideas to cover the neck area. Wish I knew a pattern for the turtle neck piece for under the tops.
ReplyDeleteHi Wanda - are you talking about a dickey? I just finished a turtleneck cape tutorial post here if that helps: http://sewpetitegal.blogspot.com/2014/11/15-minute-turtleneck-cape-diy-tutorial.html
DeleteHi there! Maybe I am just dense, but step #3 throws me for a loop (no pun intended ;)). How do you sew the right sides together without the fabric getting twisted around the machine? Thanks!
ReplyDeleteHi Claire - not dense at all! This is one of those steps that makes more sense in doing it than reading it. As you sew the right sides together, you will notice that you get to a point where it is no longer possible to sew without twisting it around the machine. This point is at the 2 inch gap and you can pull it out of the machine to hand-sew the blind stitch.
DeleteHope that helps! Please don't hesitate to contact me if you have questions :)
Another dense sewer wonders how you can get an 80 inch length out of 2 yards of fabric (72 inches)
ReplyDeleteYou are absolutely right! I had excess fabric for both and used 80 because it was easy to measure out, you can use 72 and still get a good length. My 80 is enough to triple wrap and 72 would probably give you a drapey double wrap. Sorry for the confusion!
DeleteAh! Glad someone asked that. My sanity has been restored. Your fabric combination is really lovely.
DeleteMY THOUGHT TOO! BEAUTIFUL FABRICS, GO TOGETHER WELL.
DeleteThank you both! :)
DeleteLove the scarf great idea! got to make one for me and my daughter in law she will love it, thank you for sharing!!!
ReplyDeleteThanks Bettie!! :)
DeleteMaybe I'm dumb but how do you get an 80 in piece out of only 2yards. That's only 72 inches long?
ReplyDeleteYou are absolutely right! I had excess fabric for both and used 80 because it was easy to measure out, you can use 72 and still get a good length. My 80 is enough to triple wrap and 72 would probably give you a drapey double wrap. Sorry for the confusion!
DeleteDid you actually see it into a circle or did you leave it like a regular scarf?
ReplyDeleteDid you actually see it into a circle or did you leave it like a regular scarf?
ReplyDeleteHi - apologies for being unclear - this is sewn into a circle at Step 3 above
Deletei am still confused at step three....so it says right sides together...right now i have a long tube with right sides out. so if i put right sides together i have an edge that showing?? why would i put a gap if i can flip it out anyway??? i know how to blind stitch. im left with a raw full edge???
ReplyDeleteHi Destany - sorry for being unclear. With a tube, you're going to place the both openings together with the right side out. As you sew the opening together, you'll start to join one edge going around the entire circular opening. At some point, you'll get to a point where you can no longer machine sew the opening. This is where the gap comes. You will remove the scarf from the machine and blind stitch the remaining portion.
DeleteSaid another way, imagine you are attaching a sleeve into the shoulder opening. You need to sew along both openings the entire way. The difference is that the scarf is closed and that's why you need to leave a gap and hand-stitch the rest. Hope that helps!
If you fold your fabric right sides together and start setting 4 inches from the top edge and stop 4 inches from the bottom LOF, you can then sew the ends WS together like you did the sides. Such up the opening and you have your infinity scarf. Don't forget to put a couple of twists in before sewing up the end.
ReplyDelete