Sunday, March 31, 2013

A General Guide of When to DIY vs. Buy

I think I mentioned before that I started DIY'ing during my first maternity leave ~3 years ago when I had a lot of time on my hands and zero income (personal income, still had family income from husband) flowing in.  I had always been a shopper and being off work for a year meant that if I wanted to fiscally responsible, both for myself and my baby, I needed to just turn it off.  Meanwhile, I'd feel the itch for something new when looking through magazines, watching TV / movies, or just walking down the street and seeing someone wear something cute.  Many times (especially then when it seemed like ruffles were all over the place), I'd notice the designs were generally pretty simple - like a basic tank / shell silhouette with some kind of embellishment.

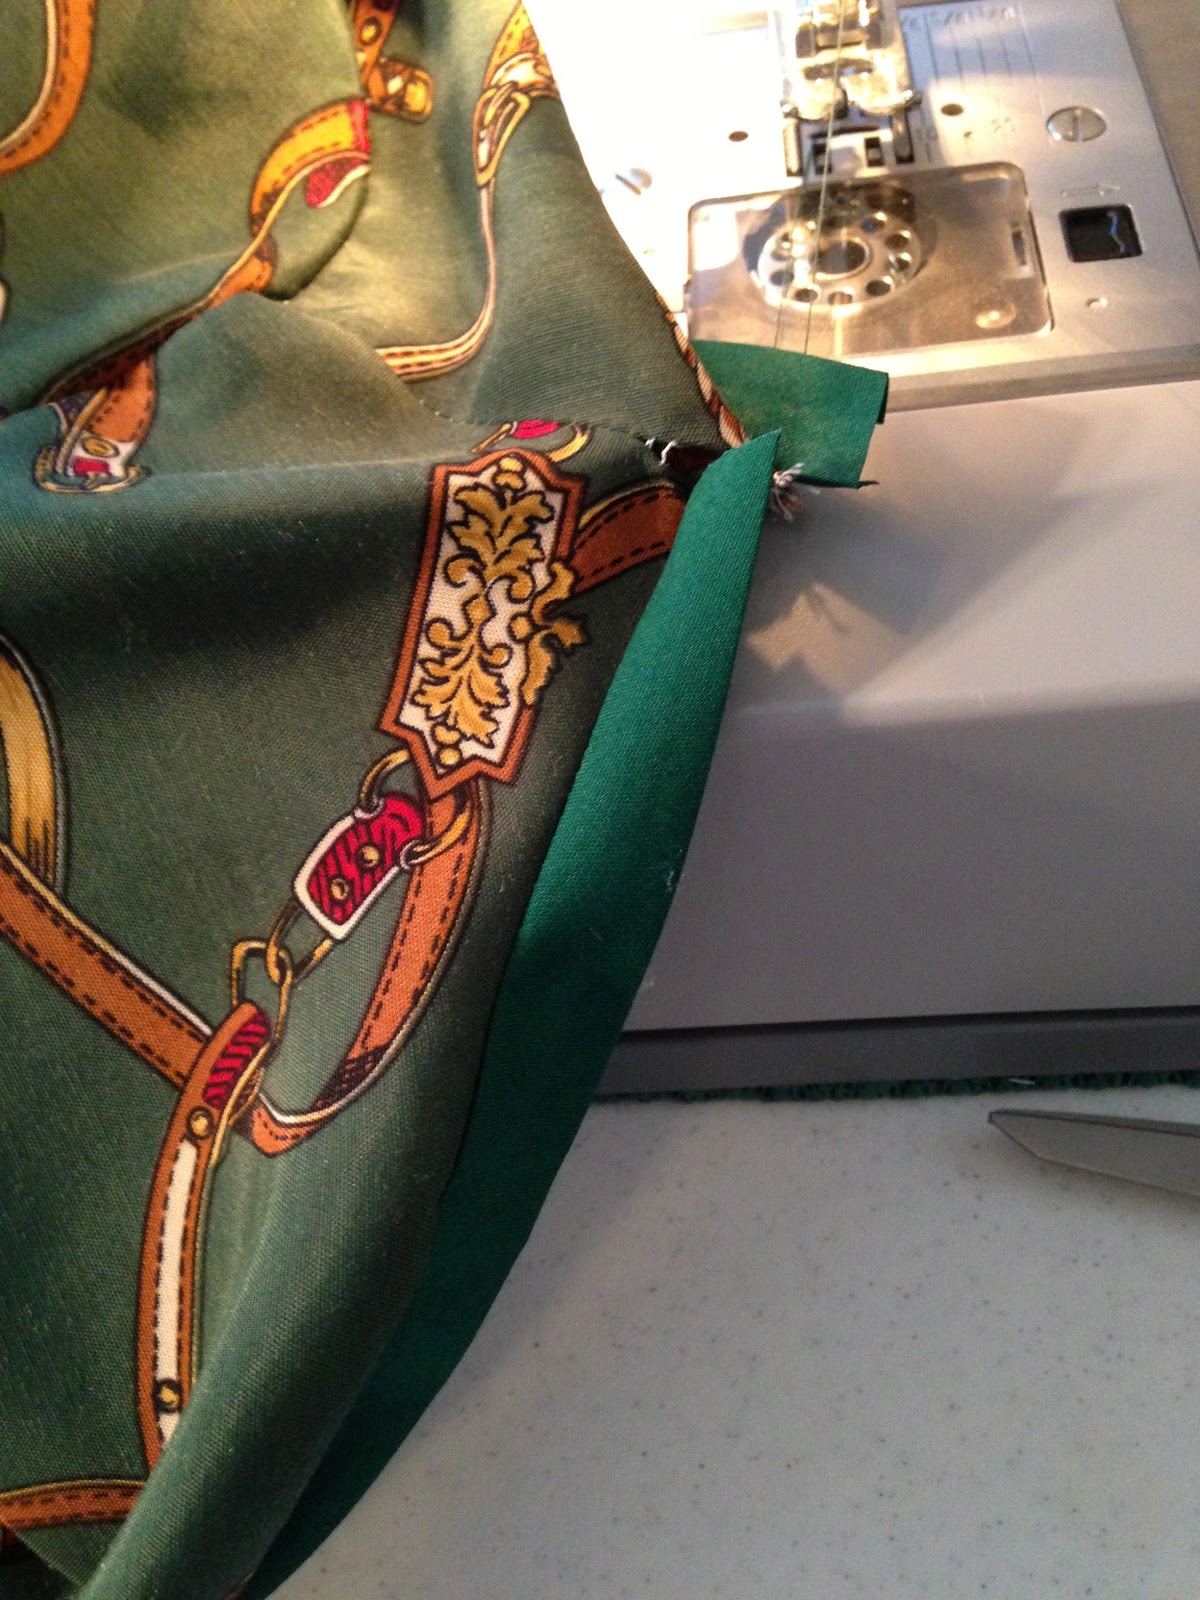
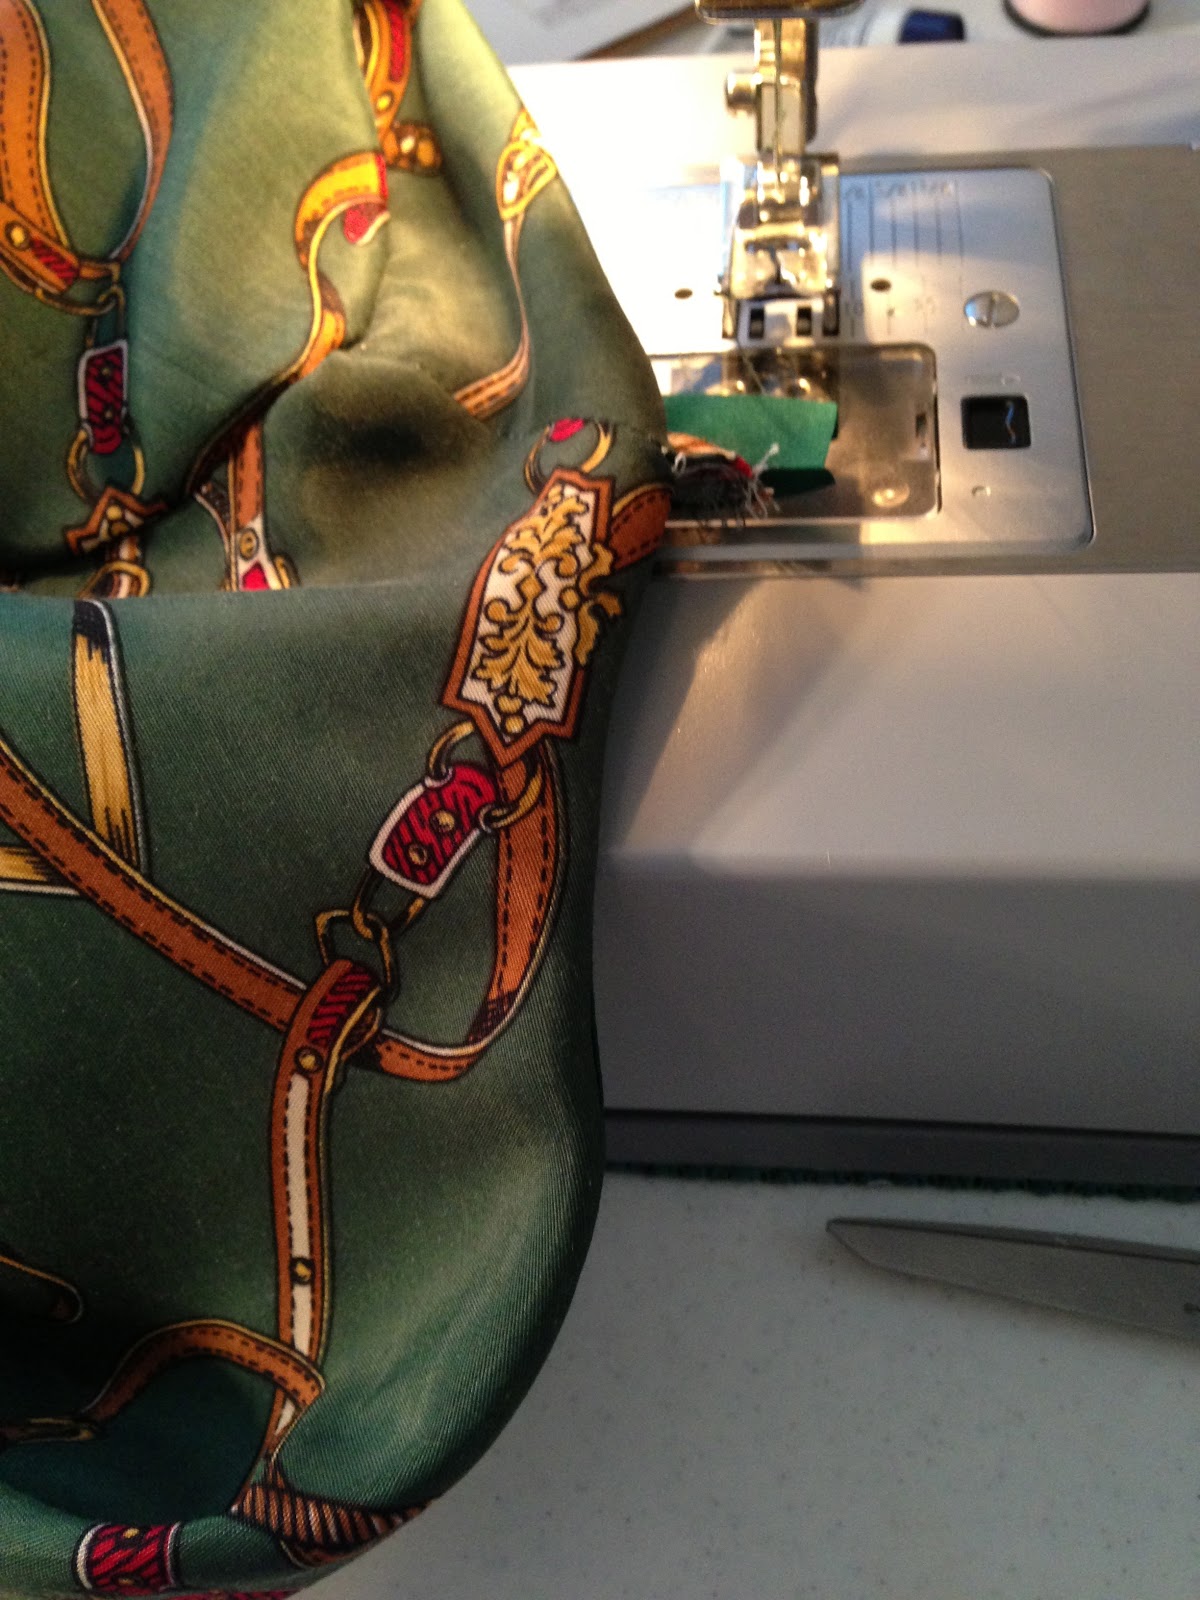
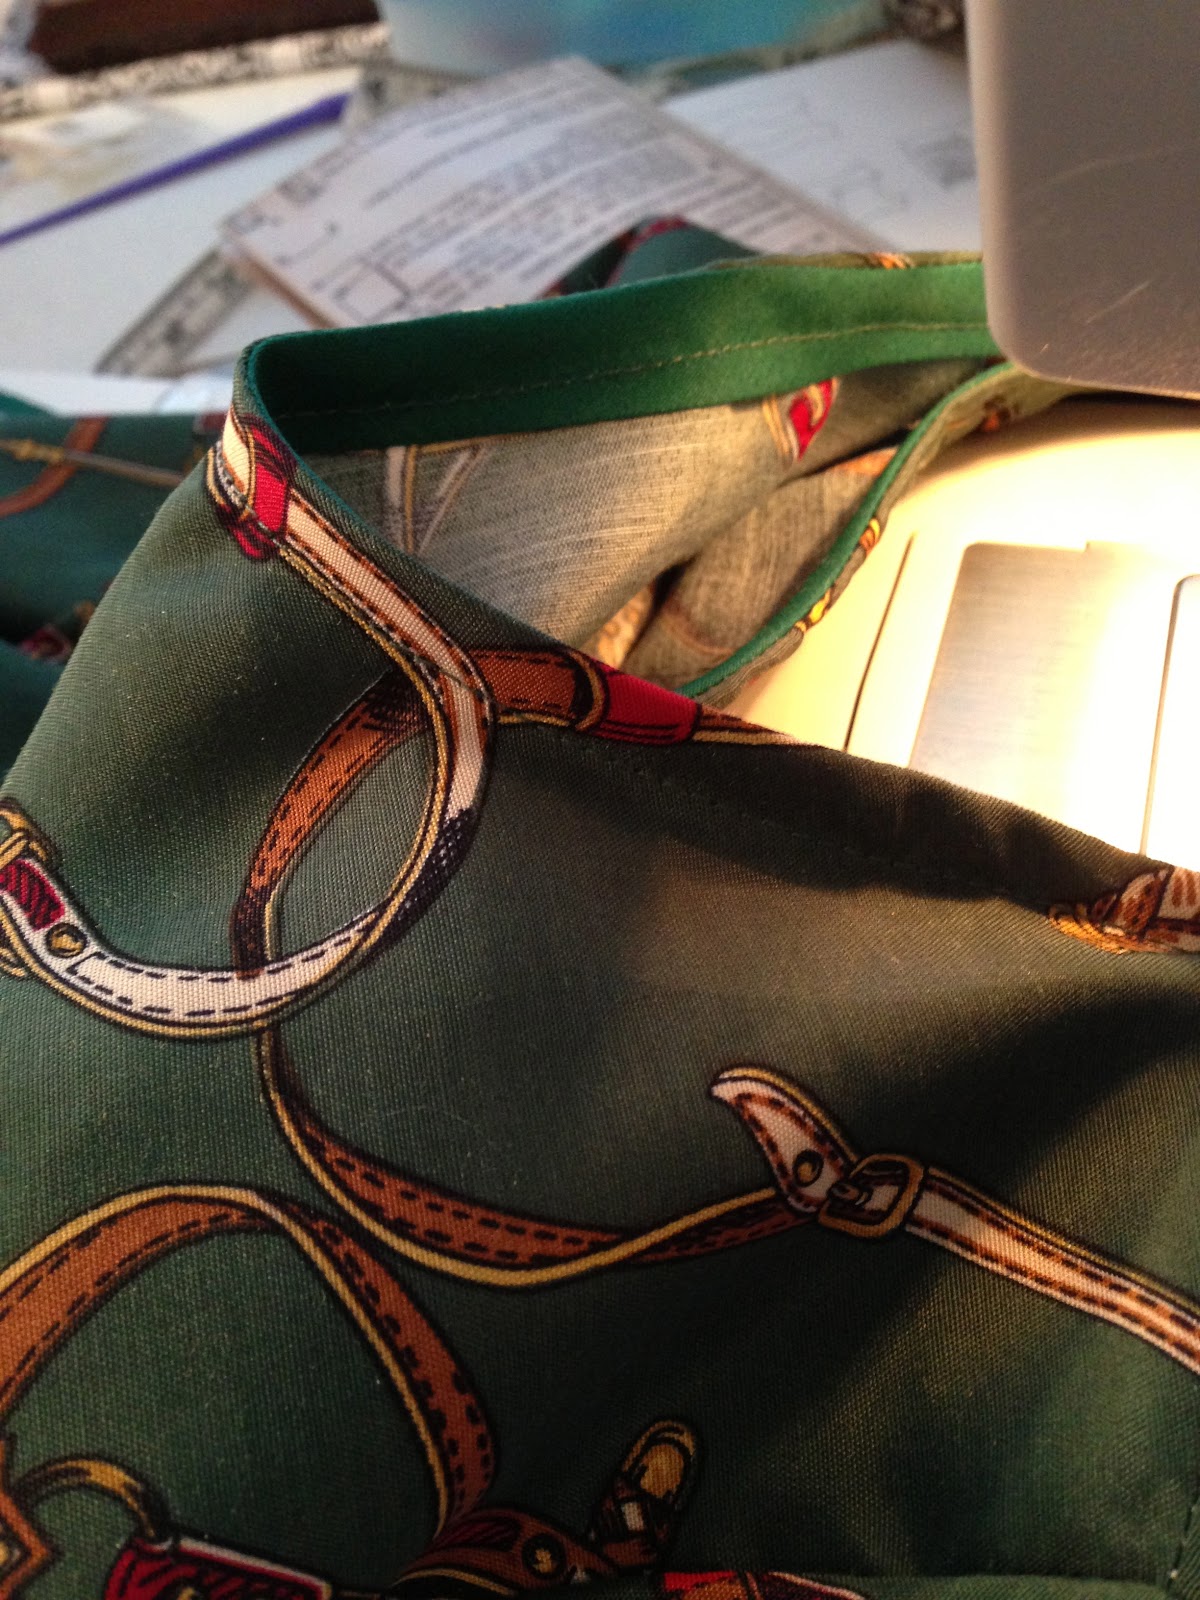
I had tried "draping" a dress before (Project Runway was on my brain) and it looked awesome on the mannequin, but could not be worn practically (was a strapless knit and did not have any of the required structure to stay up).  Prior to that, I had a short stint of pillow sewing in middle school Home Ec.  I also used to watch my mother when I was growing up.  [An aside: I remember my home-sewn clothes to be very well-made, but unattractive (a mishmash of overly embellished garments featuring ugly prints - my very own "immigrant chic" look) and always 3 sizes bigger so I could grow into it.  To this day, whenever I sew something, Mom asks, "That's too small.  What if you get fatter?"]  So, armed with those experiences and years of Project Runway watching, I felt inspired to tackle making my own versions.  See my first projects here and here.


Hmm, that was probably more wordy than necessary - moving on to a general guide of when to DIY versus buy.

Easiest Items to DIY:
  • Tops
  • Skirts
  • Most dresses
  • Scarves - even knit / crocheted ones
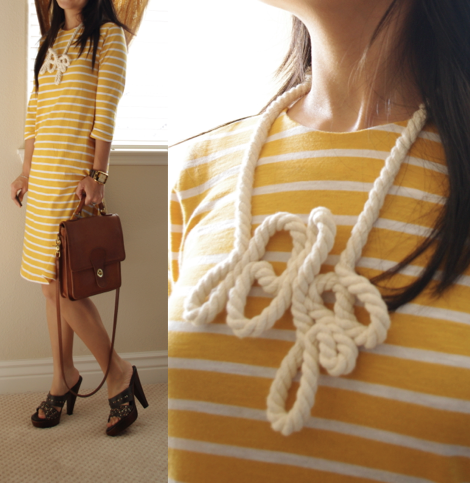
  • Simple jewelry
Simple embellishments to add onto DIY'ed or existing tops (great for beginners!):
  • Ruffles - see ruffled cardigan tutorial here
  • Bows - see bow top tutorial here
  • Petals - see petaled top tutorial here
  • Any kind of trim - pearl strands, rhinestones, rope, fringe, chains, lace (but do watch out from a washability standpoint), see chain cardigan tutorial here
Simple trends to DIY:
  • Peplums - see a pencil skirt + peplum tutorial here and some other projects here and here
  • Colorblocking - see an easy color blocked maxi dress tutorial here and t-shirt dress here
  • Some spiking / studding / beading - see my spiked shoe here
When to Buy:
  • Difficult or time-intensive to make - Blazers / Outerwear, Sweaters
  • Hard to find prints
  • Cheaper than making / Effort for DIY exceeds cost of buying - i.e. Bubble Necklace materials were going to cost me about $10 plus at least an hour or two of making, easier to just spend $20 buying one from eBay
If you have questions about whether something is DIY'able or how to approach a project you're planning, please feel free to leave it in the comments below.  I hope this post was helpful!

Wednesday, March 27, 2013

Sewing 101: Finishing Edges w/ Bias Tape

I use 3 main ways to finish my edges: 1.) use bias tape, 2.) use facing, 3.) just fold over and sew (doesn't work well on arm / neck openings).  Today, I wanted to share how I do #1 using bias tape (can be purchased at any fabric / craft store for approximately $2 or less).

Difficulty: Easy
Time: Fast, ~15 minutes to finish neck and arm openings
Material: 1/4" or 1/2" single fold bias tape in a color close to your garment

Unfold the right edge of your bias tape and align the tape's edge with your fabric's edge.  

Sew right along the groove of the bias tape fold.

Flip over your fabric so that you see the right side like the left picture.  Fold your bias strip under your fabric.

Sew a row of stitching to secure your bias tape under your fabric and encase your raw edges.

Voila!  Raw edges no more!

Pros:

  • Inexpensive to purchase and easy to use
  • Does not use up any additional fabric

Cons:

  • Leaves a visible line of stitching on the outside of your garment

I'll cover facings in a future post.  If you have any questions, please feel free to ask in the comments :)

Sunday, March 24, 2013

Yellow Striped Knit Shift DIY

I'm back (and I always want to add "from outer space" because I'm a dork like that) from my quickie, semi-last minute trip to Hong Kong and am happy to be sleeping in my own bed.  I have quite a few HK travelogue posts in the works so be prepared for future food and shopping posts.  P of Phiphi's blog went on vacation around the same time and I was honored to do a guest post for her.  If you're curious, you can find that here.  :)

Now on to our regularly scheduled programming... I know I've been on a bit of a shift dress roll lately (see equestrian here and leopard here), but I can't seem to help myself.  I love the ease of the silhouette, and of course, the meal forgiveness in the tummy area.  I made this one out of a super soft jersey knit and it is so very comfortable.  Almost like a sleep shirt!

Time:  1 hr - 2nd time using this pattern so I knew what I need to nip and tuck
Pattern:  Butterick 3383.  Lengthened to knee length.  Needed to slim sleeves and body.  Narrowed neckline by 2" (see how here).
Difficulty: Easy - used serger to sew everything except the facing and hems

Striped Knit Shift DIY
Rope Necklace DIY
Coach Station (gifted by the lovely Jean)
Frye Sandals
Michael Kors Tortoiseshell Watch (better view here)

Do you have a favorite dress silhouette?  Please share :)

Sunday, March 10, 2013

Sewing 101: Fabric Selection

This is my personal way of thinking of fabrics and fabric selection.  It is by no means an end all be all, just a compilation of what I've learned and currently adhere to :)

Fabric Shopping:
I am a fabric molester.  When I visit a fabric store, I touch every single bolt that looks interesting and from there, I decide on whether it's suitable for me.  When feeling, I'm looking for:
  • Stretch
  • Thickness
  • Structure
  • Opacity 
  • Skin feel - will stay away from itchy or rough
  • Weave (if applicable)
  • Overall quality
The feel of these help determine what the fabric is appropriate for.

For example:
  • Stretchy + thick + semi-structured = comfortable dresses with a sculptural element
  • Thin + see-through + lightweight = dress / top with some kind of flow to highlight the fabric
  • Non-stretch + thick + coarse/rigid = pleated skirts since it holds structure and shape so beautifully
Knit dress with structured sleeves
Bow neck chiffon top
Pleated full skirt with stiff cotton

Non-conventional Fabrics:  Don't shy away from drapery / bedding / etc - I've found the prettiest prints there!  For drapery, make sure it is machine washable.  Some fabrics only allow spot treatment.

Drapery fabric made into map peplum skirt and sailboat dress
Bedding made into shift dress

Best Fabric for Beginners: Cotton - easy to cut, straight-forward, sews well, relatively inexpensive.  You can purchase 44-45" wide cotton at any fabric store for roughly $3 a yard

"Difficult" Fabrics:
  • Chiffons - can be difficult to cut.  I generally sew this while holding it semi-taut.  It's worked for me, though I'm not sure that's the correct way to do it.
  • Silkies - can sometimes slip during sewing.  I use the same semi-taut sewing style as with chiffons and make sure to guide it while sewing.
  • Satins & Shinies - can pucker easily and show mistakes.  
  • Jerseys - can be difficult on regular machines because you need to adjust your stitching to account for the stretch.  Otherwise, your stitches will pop.  To rectify, use a twin needle or zigzag stitch.  Very easy on serger where the stitches have built in stretch.
Structure vs. Drape:
I once tried to make a drape-y shell out of satin.  This was a horrible idea.  The satin had so much structure that the shell wound up looking like a tent.  Belting / tucking made it worse because the gathered areas wound up looking like it had very poofy wrinkles.  Lesson learned - don't try to "drape" a structured fabric.  Structuring a drape-y fabric (think knits) is doable, but don't expect it to hold any rigid shapes.

How much to buy?
The most accurate way to determine how much you need is to go by your sewing pattern.  The back of the envelope will always tell you the amount of fabric / notions are needed to create the garment.  If you're buying without a specific style / pattern in mind, here are some basic amounts and what you can create with it:
  • 1 yard = suitable for sleeveless tops and some skirts (think A-line)
  • 1.5 yards = short or 3/4 sleeved tops, pencil skirts (I always purchase extra yardage for pencil skirts in case of mess-ups)
  • 2 yards = knee length fit & flare dresses / sheaths / shifts (buy a little extra if going for a long-sleeved garment, sleeves take up much more fabric than you'd think - as do pockets!), cropped jackets, full pleated skirts
  • 2.5 - 3 yards = floor length maxi dresses, knee-length coats, boyfriend blazers
  • 4+ yards = Ball gowns, entire outfits (dress + jacket)
Collecting Fabrics:
I am also a fabric hoarder.  I used to buy anything and everything that looked interesting to me.  For the most part, fabric is considerably less expensive than clothing so it's also easy to get carried away with buying.  As a result, I have a giant bookcase and several storage bins jam-packed with fabrics.  While useful if there should ever be a fabric apocalypse, it's not very practical, hogs way too much space, and I wind up with a bunch of what-if fabrics that could possibly be suitable for something at some point, but not right now.  

My current approach when buying is to always think of at least one or two projects I could see myself actually doing with the fabric.

I hope this was helpful!  Questions?  Please feel free to leave them in the comments :)

Sunday, March 3, 2013

Equestrian Print Shift Dress DIY & Giveaway Winner

I found this beautiful print at SF store Fabrix and fell in love with the hunter green color with equestrian accents.  And I wasn't the only one!  Jean also fell in love with it and whipped up a gorgeous DIY skirt here.

 
Equestrian Shift Dress DIY
Coach Station (gifted by generous Jean)
Frye Sandals
Banana Republic Gold Chain
Michael Kors Tortoiseshell Watch (better view here)

Detailed view originally shared on Instagram

Time:  2 hrs - had to keep nipping and tucking for proper sizing
Pattern:  Butterick 3383.  Lengthened to knee length.  Needed to slim sleeves and body.  Narrowed neckline by 2" (see how here).
Difficulty: Easy (except the sleeves which I always have issues with)

So who won the Scarf Giveaway?  Congratulations to Jennifer P!  Please send me an email, sewpetitegal at gmail.com, and let me know which scarf you'd like and your address.  Thanks to everyone for entering and for your valuable feedback!


Hope everyone had a wonderful weekend!  I got to hang out with Ping and Karen for some yummy sushi and green tea tiramisu (post upcoming) :)

LinkWithin

Related Posts Plugin for WordPress, Blogger...