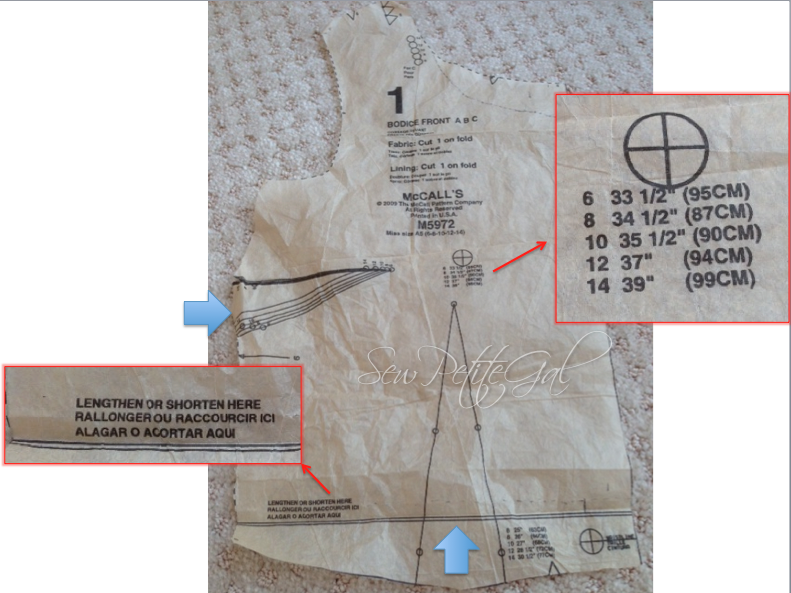
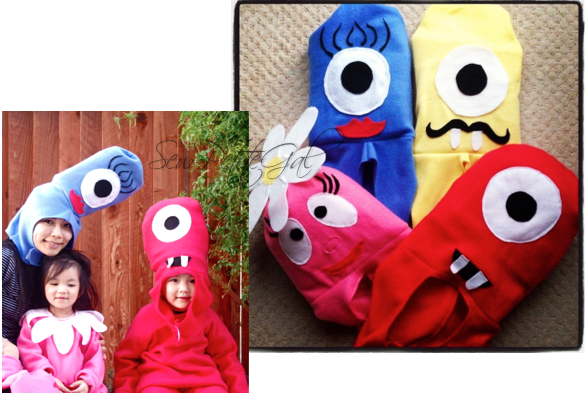
Favorite DIYs:
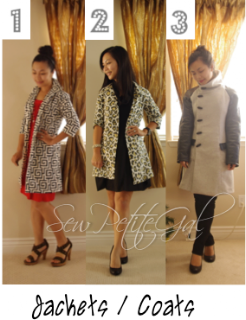
I cut down on buying clothing (1% vs. 4% last year) and focused more on making my own. This year, I tried my hand at making more complex items like coats:
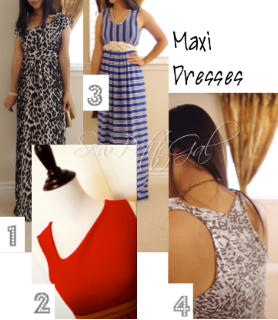
I also played around with different details on maxi dresses:
And experimented with more dress / skirt tutorials:

I cut down on buying clothing (1% vs. 4% last year) and focused more on making my own. This year, I tried my hand at making more complex items like coats:

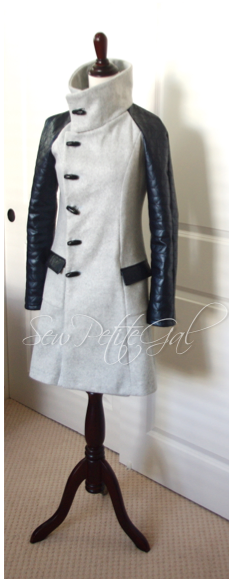
1). Graphic Coat
2). Leopard Coat
I also played around with different details on maxi dresses:

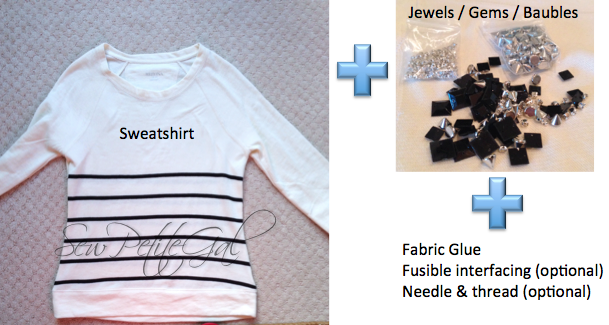
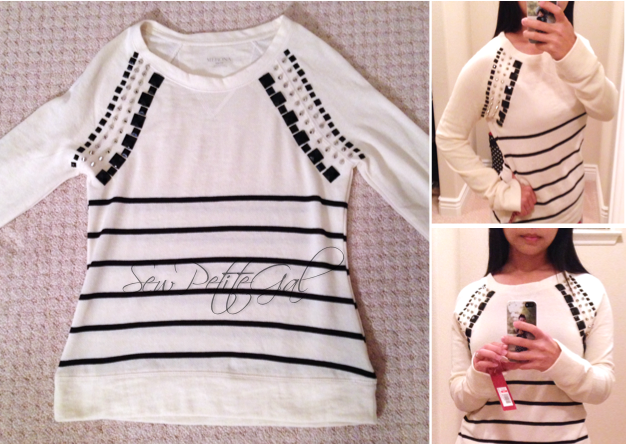
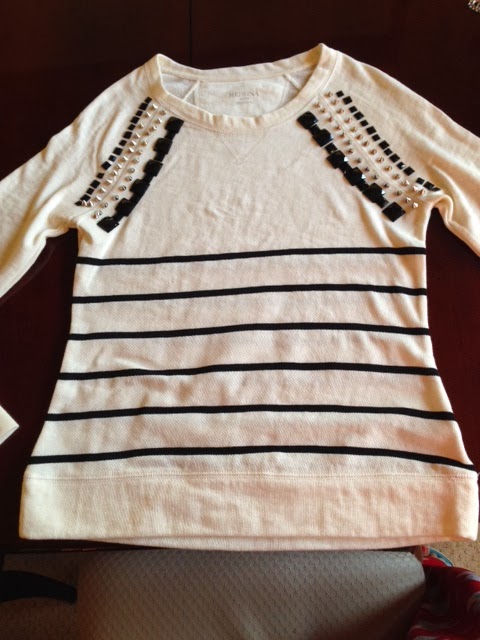
3. Striped Maxi
And experimented with more dress / skirt tutorials:

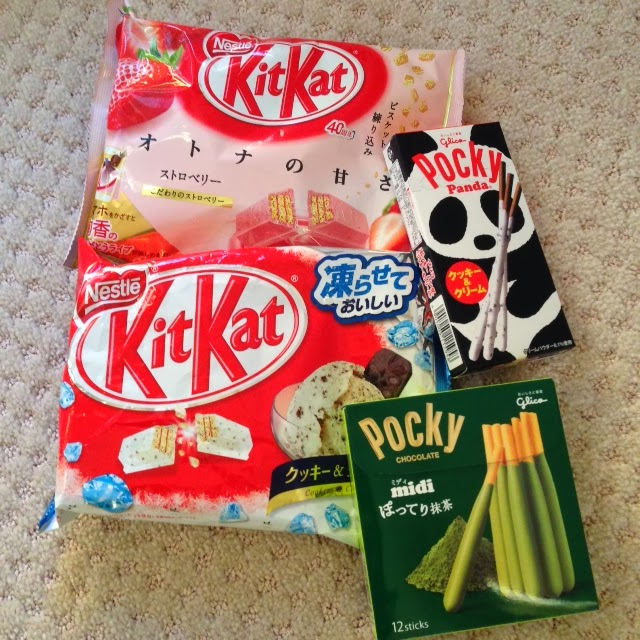
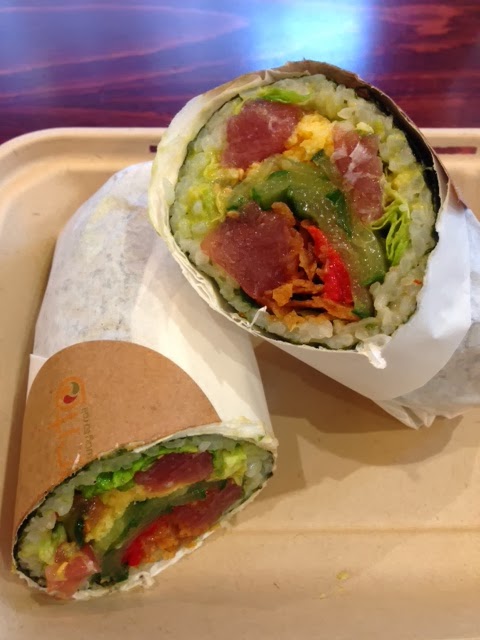
Favorite Eats:
My family and I spent a good deal of the year exploring different eateries :)
Favorite Moments / Events:

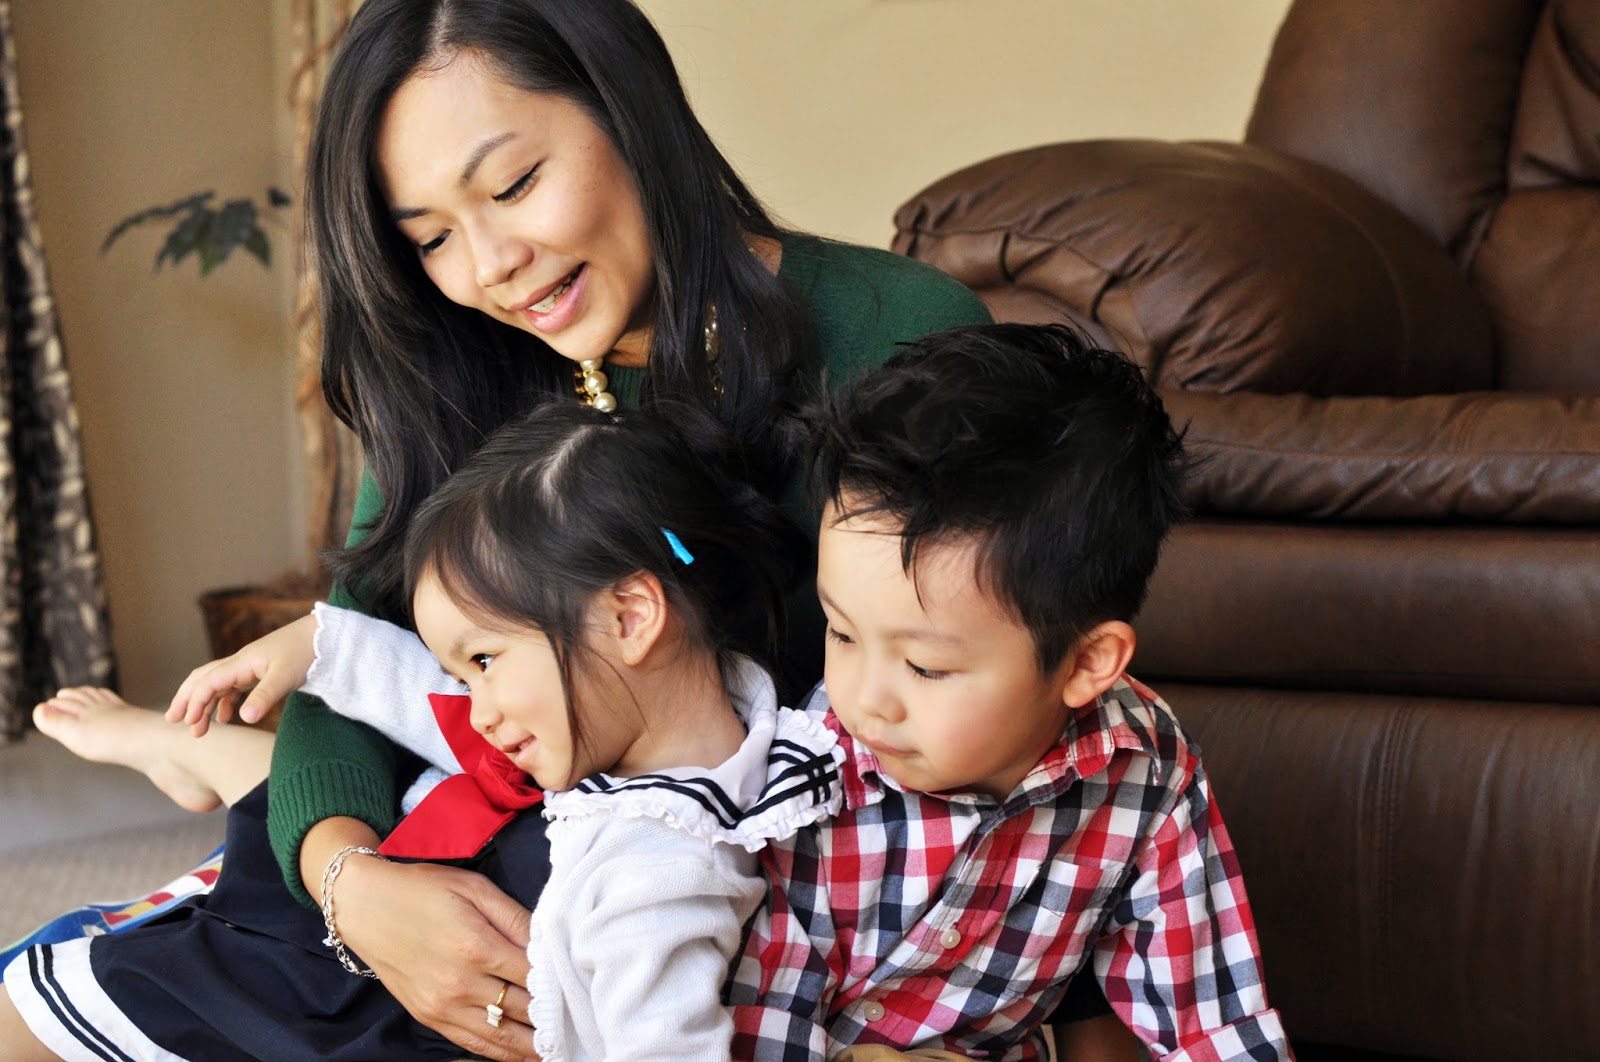
- Mommy moments
- Toddler affection - when E asks for a "huck" (hug), or "I want to kiss your nose", or says "I wuv you" / "Hewwo Mom"
- Preschooler accomplishments - V's utter excitement about reading / listening to bedtime stories / doing homework / learning Chinese (enrolled in bilingual preschool w/ nightly tutorials from my husband)
- Building Lego castles with them and seeing their glee in knocking them down
- Christmas morning squeals :)

- Cycling with husband
- Went from an exhausting 10 miles on our mountain bikes to 30 miles on our new hybrids 2x a week
Happy New Year to everyone!! May 2014 bring you happiness and many blessings!
A GIANT thank you for visiting this blog and joining me in my sewing, dining, and shopping adventures!